Self-Tape Setup: A Practical Guide for Actors
Self-taped auditions became the default first round for a large share of film, television and commercial casting during 2020 and have stayed common since. The good news is that casting directors are not judging your equipment. They need to see your face, hear every word and follow the instructions they gave. Everything below serves those three goals.
Read the instructions first, and twice
Every self-tape request comes with its own instructions: which scenes, whether to slate and what to say, framing, file format, naming convention, upload method and deadline. These override any general advice, including this guide. Common variations include a full-body shot after the slate, a separate slate file, a request for no slate at all, or a specific way of naming the file with your name and the role. Getting these details right is part of the audition: it tells casting you can follow direction.
If you are a union member, your union may also have rules about what can be requested. SAG-AFTRA's 2023 TV/Theatrical agreement added terms covering self-taped auditions; check the union's current summary for what producers can and cannot ask of you.
Camera
- A recent phone is enough. Use the rear camera if you can (it is usually better), with a friend or a mirror to check framing, or the front camera if you are alone.
- Shoot horizontal (landscape) unless the instructions ask for vertical.
- Put the camera on something stable at eye level: a tripod with a phone clamp, or a stack of books. Handheld footage is distracting.
- Clean the lens. A smudged lens is the most common cause of soft, hazy footage.
- Lock focus and exposure on your face if your phone allows it, so the image does not pulse when you move.
Framing
Unless told otherwise, frame from mid-chest to just above the top of your head, with your eyes roughly a third of the way down the frame. This "medium close-up" is the usual default because it shows your eyes and small expressions while leaving a little room to move. Keep the camera at your eye height; a camera below you looks up your nose, one above you shrinks you.
Before recording, do a quick test take, then check it: is the top of your head cut off when you lean in? Are you centred, or deliberately off-centre toward your reader's side?
Eyeline
Look at your reader, not into the lens, unless the instructions say the scene should be played to camera. Place the reader (or a mark, if your reader is on a call) just to one side of the camera, close to it, so the audience sees almost your full face. If the scene has more than one other character, put them on either side of the lens and switch between them. Keep your eyeline close to the lens; looking far off to the side shows the casting team your profile instead of your eyes.
Background
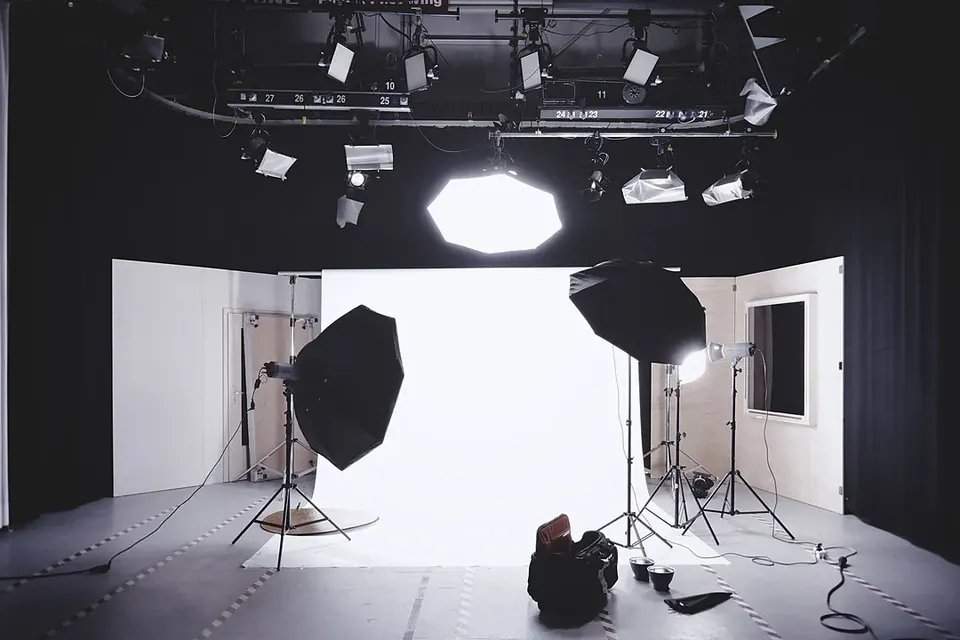
Use a plain, uncluttered background: a blank wall, a backdrop or a hung sheet. Mid-tone grey or soft blue are popular because they flatter most skin tones and do not confuse the camera's exposure. Avoid bright white, which can make faces look dark, and avoid busy patterns or anything that tells a story of its own. Stand a little away from the wall so you do not cast a hard shadow on it.
Light
- Light your face from the front. A window in front of you, slightly to the side, is excellent daytime light. Never put a window behind you.
- Use soft light. If you buy one thing, a ring light or a small LED panel with a diffuser is cheap and portable. Place it in front of you, near the camera, a little above eye level.
- Avoid mixed colours. Daylight from a window plus warm household bulbs gives uneven colour. Turn off overhead lights that create shadows under your eyes.
- Keep it consistent. Natural light changes over an hour; if you do many takes, artificial light keeps them matching.
Sound
Bad sound gets a tape turned off faster than bad light. Record in a small room with soft furnishings (curtains, a sofa, a rug) rather than a bare room with hard walls. Turn off fans, fridges and notifications. Put your phone in airplane mode with Wi-Fi off if you are recording on it. If you have an external microphone, a small lavalier or a phone-mounted shotgun mic helps; otherwise keep the phone close enough that your voice is clear.
Balance your reader: they are usually closer to the microphone than you, and a loud reader can overpower you. Ask them to speak a little quieter than feels natural.
The reader
A good reader is the single biggest improvement you can make. Choose someone who will read the lines clearly and give you something to react to without performing over you. Readers over a video call work if the connection is stable; play their audio through headphones or a small speaker placed off camera, and do a sound check first. Some actors' groups and online communities organise reader swaps, which is a good way to get practice reading for others too.
Performance on tape
The camera is close, so keep your physical life contained and let your thoughts read in your eyes. Know your lines well enough to be free of the page if you can; if you are on short notice, holding the sides low and out of frame is acceptable for many requests, but check the instructions. Do two or three takes that differ in a real way, pick the best one, and send only what was asked for. Sending five takes of each scene is not helpful.
Editing and delivery
- Trim the start and end so the tape begins and ends cleanly. No music, titles or effects unless requested.
- Export at the resolution requested; if none is given, a standard HD file is usually fine. Check that the file plays and the sound is in sync.
- Name the file exactly as instructed.
- Upload through the method requested (a casting platform, a file-sharing link, or your representative). If you send a link, make sure it does not require the viewer to log in or request access, and that it will stay live.
- Deliver before the deadline. Late tapes are often never watched.
A minimal kit
| Item | Why |
|---|---|
| Phone tripod or clamp | Stable, eye-level framing |
| Soft front light (ring or panel) | Even light on your face at any hour |
| Plain backdrop | Removes distractions, works in any room |
| External mic (optional) | Clearer voice, less room echo |
Everything else is technique. If your home does not work for taping, some rehearsal studios rent rooms set up for self-tapes by the hour; see our guide to evaluating rehearsal space for what to check before booking.
Sources and further reading
- SAG-AFTRA, official site: contract summaries, including the TV/Theatrical agreement.
- Casting Society (CSA), official site.
- Related: how to prepare for a cold read.
 Reads & auditions
Preparing a cold read
What to do in the minutes you have with the sides, and how to take a redirect.
 Rooms & community
Finding rehearsal space
Size, floor, sound, access, booking terms and insurance: what to check before you pay.
 Rooms & community
Online communities for actors
What a virtual membership should offer, what is free elsewhere, and warning signs.